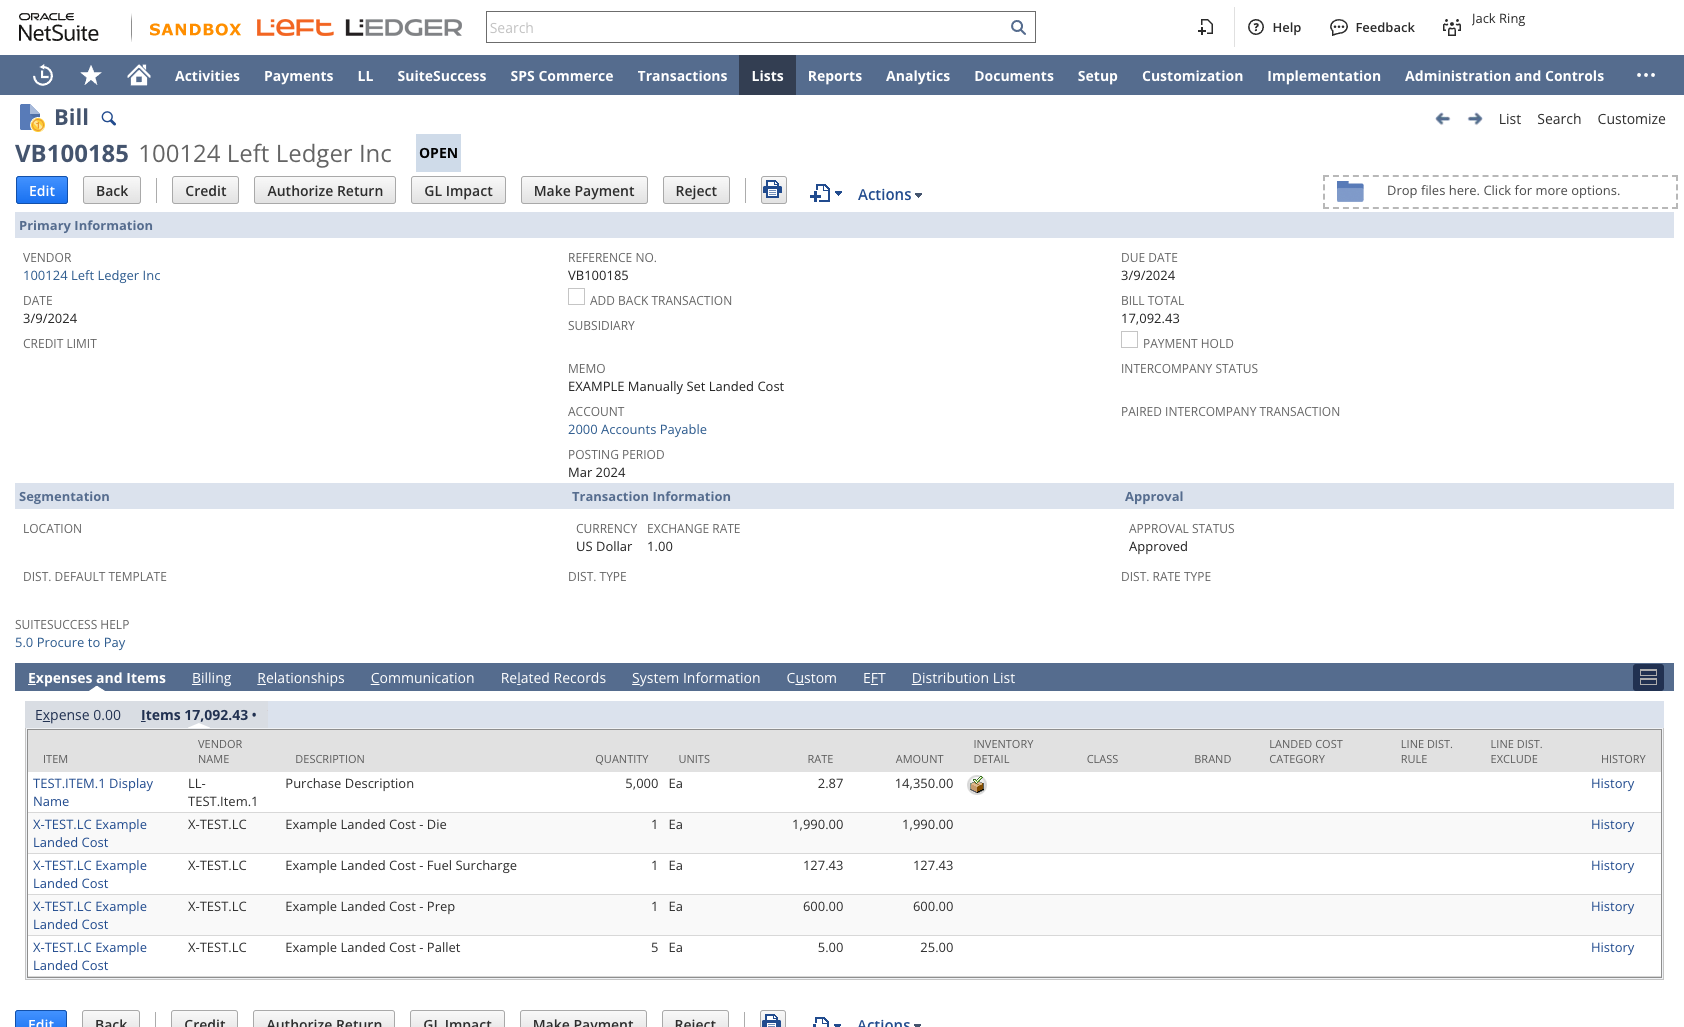
NetSuite offers a few different ways to add landed costs into the value of an item. Each method has certain benefits & drawbacks. The method discussed in this article is basic and flexible but also somewhat prone to user error. It involves manually entering landed costs directly on an Item Receipt transaction.
The total cost of obtaining stock includes the material charge for an item. It also includes any charges associated with getting items into the warehouse and available for sale. These additional expenses contribute to the total cost of goods sold and affect inventory valuation.
Use the Landed Costs feature to track the expenses you incur when you purchase your inventory. Landed costs let you increase the asset value of inventory by including additional expenses associated with procuring stock, such as freight and duty fees.
Expenses that contribute to landed costs can include the following:
This is an article which discusses a method to leverage NetSuite’s Landed Cost feature. Companies sometimes want to recognize expenses related to the purchase process for an item into the value of an item. This allows those related costs to be held on the balance sheet and expensed progressively with the sale of each unit to end customers.
The method discussed in this article is basic and flexible but also somewhat prone to user error. It involves manually entering landed costs directly on an Item Receipt transaction.
Method #2. (Also see method #1)
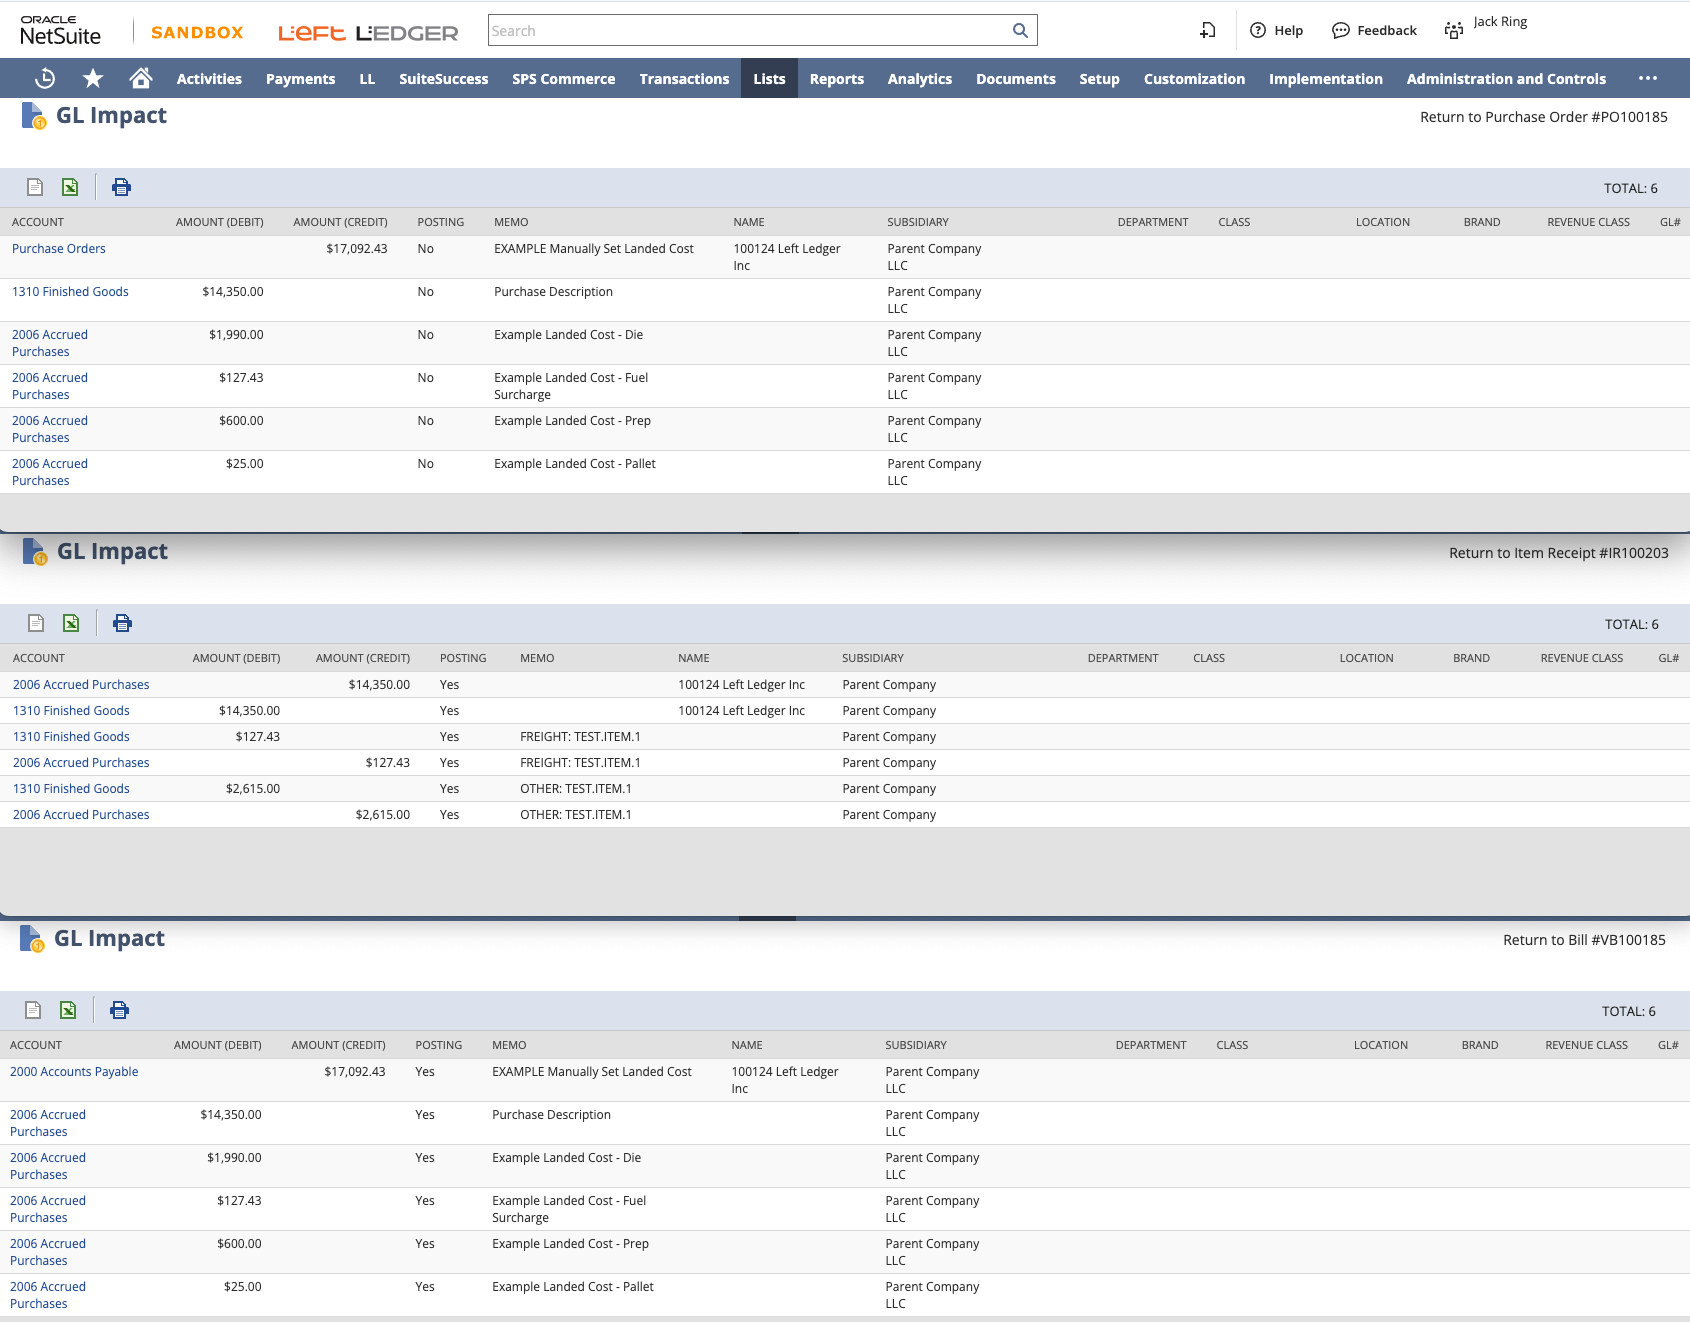
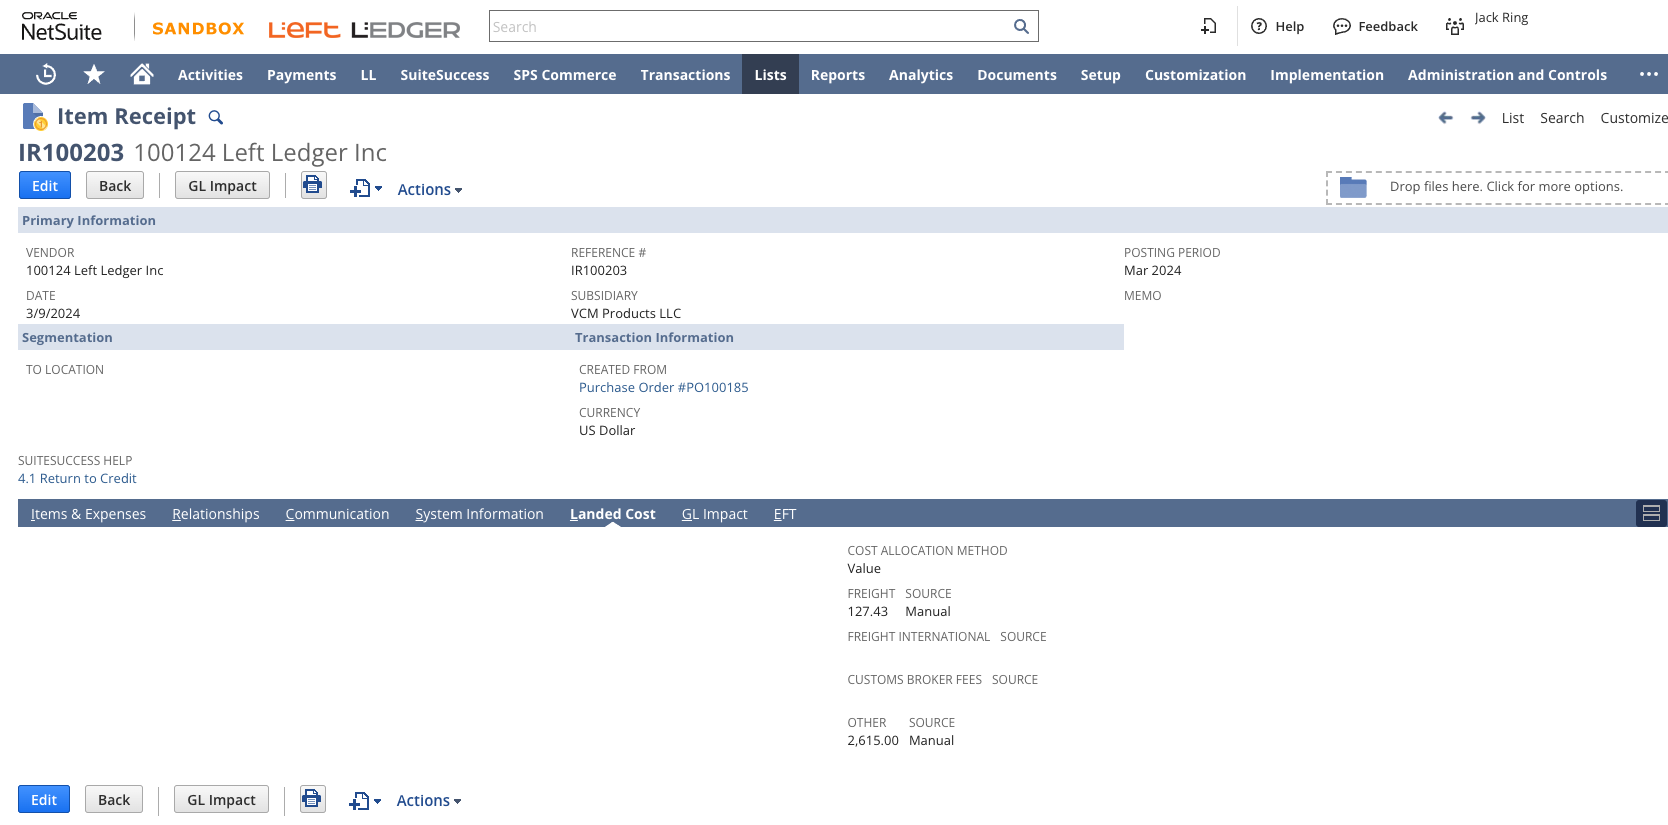
At the time the items are received, on the Item Receipt, visually source the landed cost amounts from PO, enter landed cost values to each Cost Category "Manually".
Drawback #1.
End user may make a mistake in referencing expenses from PO and calculating - resulting in a delta in 3-way matching between [PO, IR, VB]
Drawback #2.
End User may come back and take liberties "RE" editing landed cost on the IR. If this happens after the previously-received units are on other transactions, a COGS variance may occur.

Clearing account chosen is 2006 Accrued Purchases.
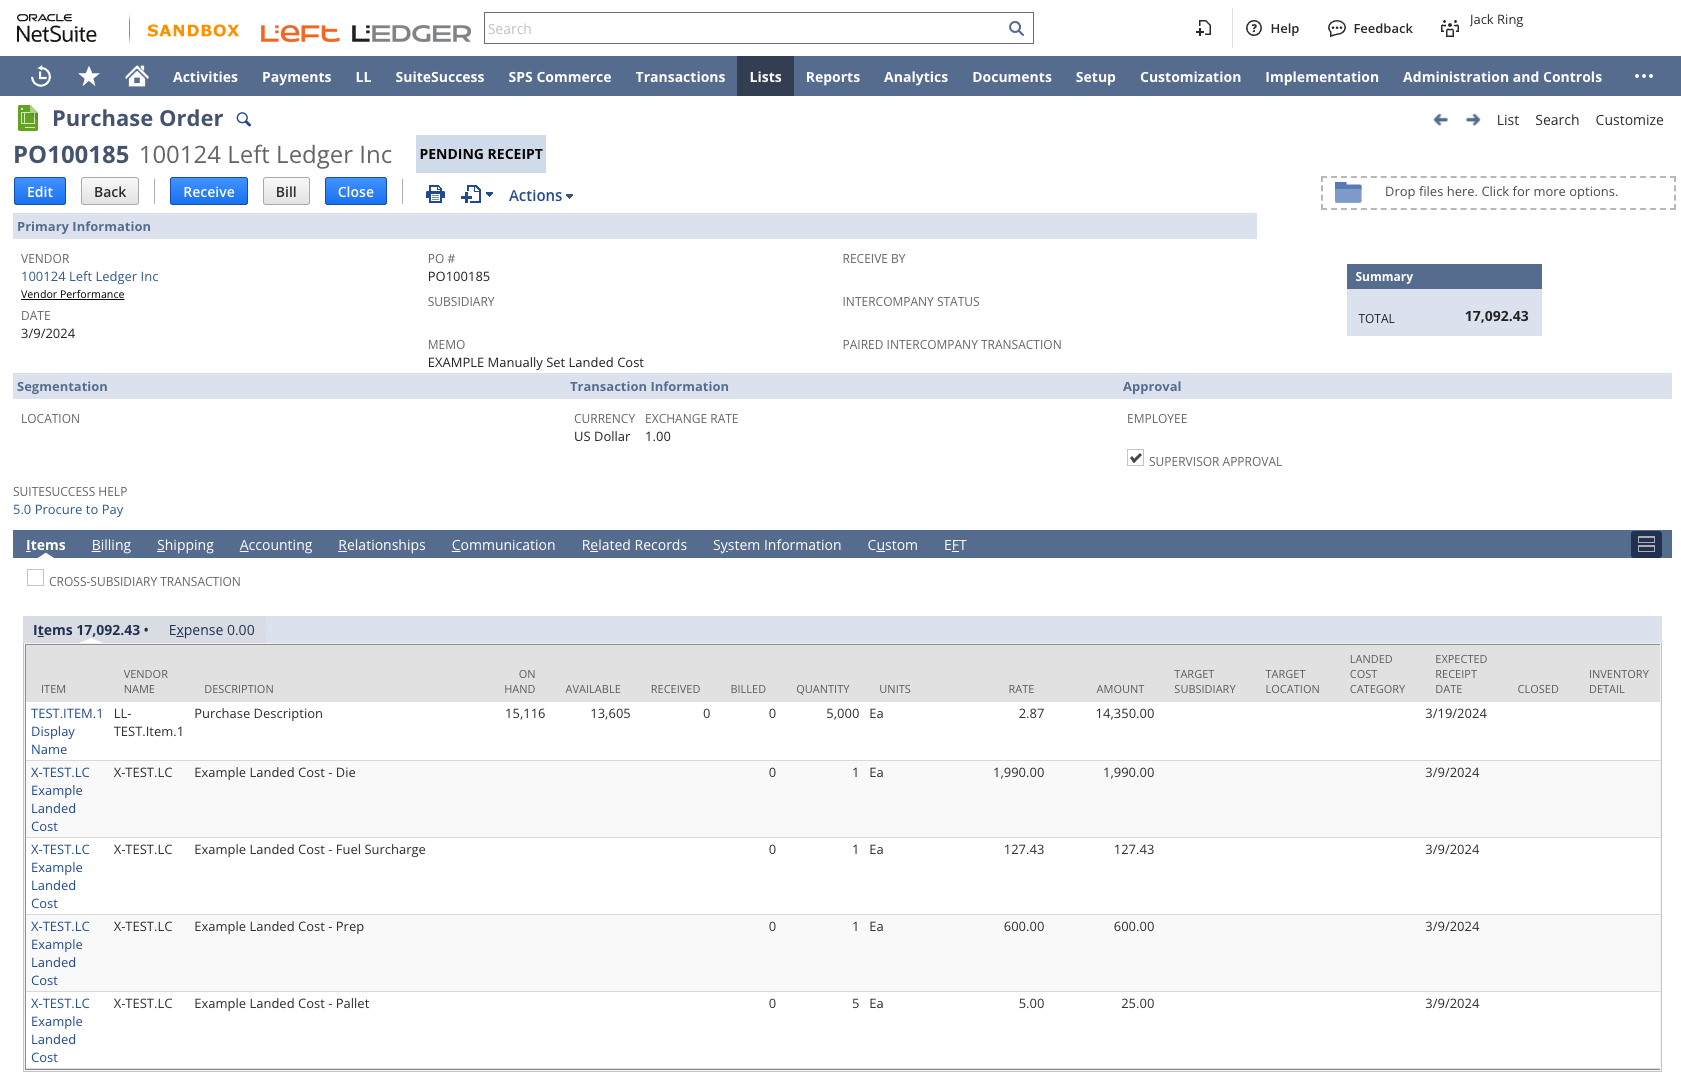
Add the Item units to the “ITEM SUB LIST” on the Purchase Order. Add a special Non-Inventory for Purchase Landed Cost Item. DO NOT set the Cost Category. Make sure charges are itemized as expected and agreed with Vendor.
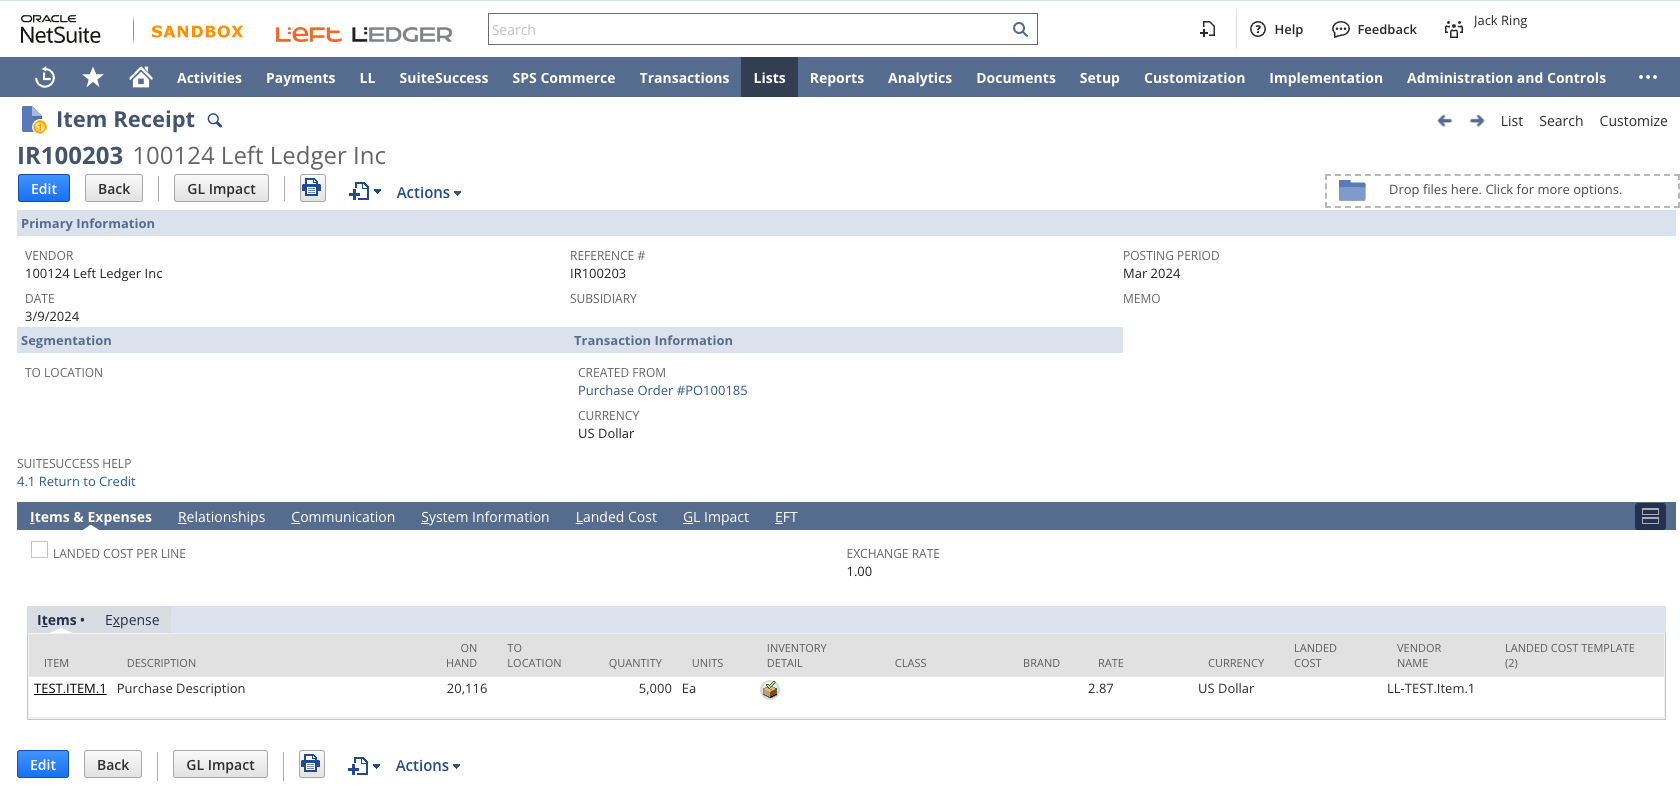
Receive the stock units on the “ITEM SUB LIST” on the Item Receipt.
Under the Landed Cost sub tab, for each “Cost Category” set the “Source” dropdown to “Manual” and enter the exact values designated on the Purchase Order for each category. * IMPORTANT: Double check that the amounts are correct. DO NOT come back to this Item Receipt and Re-Edit these values.
Click the Bill button from the Purchase Order.
Don't hesitate to contact us for assistance in setting up this process in your NetSuite instance. We're here to help you make the most of your NetSuite experience. contact us.
...
Make a Deposit in NetSuite to record funds you deposit into your bank account. Record Customer payments in the Undeposited Funds bank account. Use deposits to move funds from your undeposited funds bank account to your GL bank account when payments are physically deposited into the bank. This allows you to keep your GL bank account balance and the Actual bank account in sync.
We recently helped a client in the leasing industry modernize their entire tenant-lease management process directly inside native NetSuite. No third-party integrations. No extra modules. No recurring license fees. The result? A robust, auditable, and fully automated lease-to-revenue engine. Purpose-built for their business and completely maintained on simple, native NetSuite.
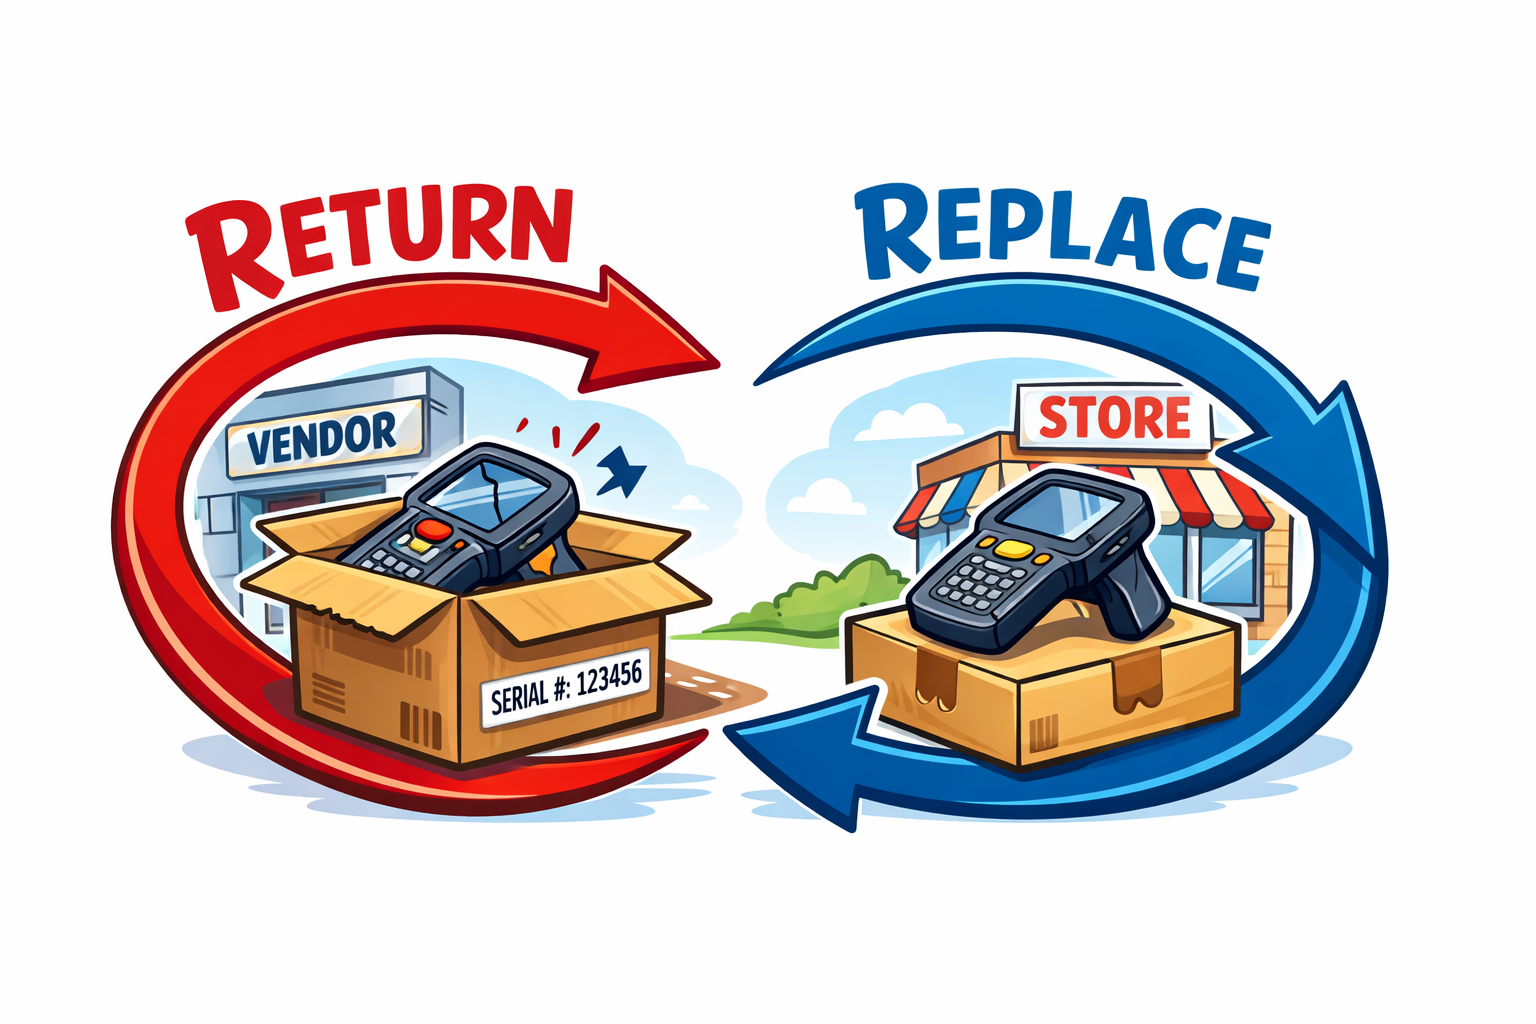
In distribution and serialized inventory environments, the "simple" act of swapping a defective unit for a customer can quietly damage financial integrity if not handled with discipline. A customer returns a serialized unit. The store hands them a new one from stock. The vendor agrees to replace or credit the defective unit. Everyone feels like the problem is solved.
Operationally, maybe. Financially, not necessarily.